| Detailing By Executive |
|
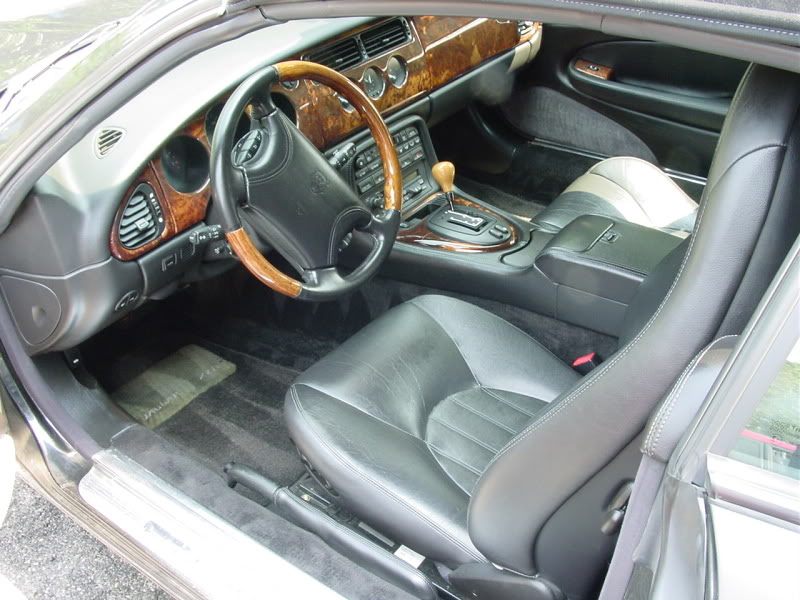
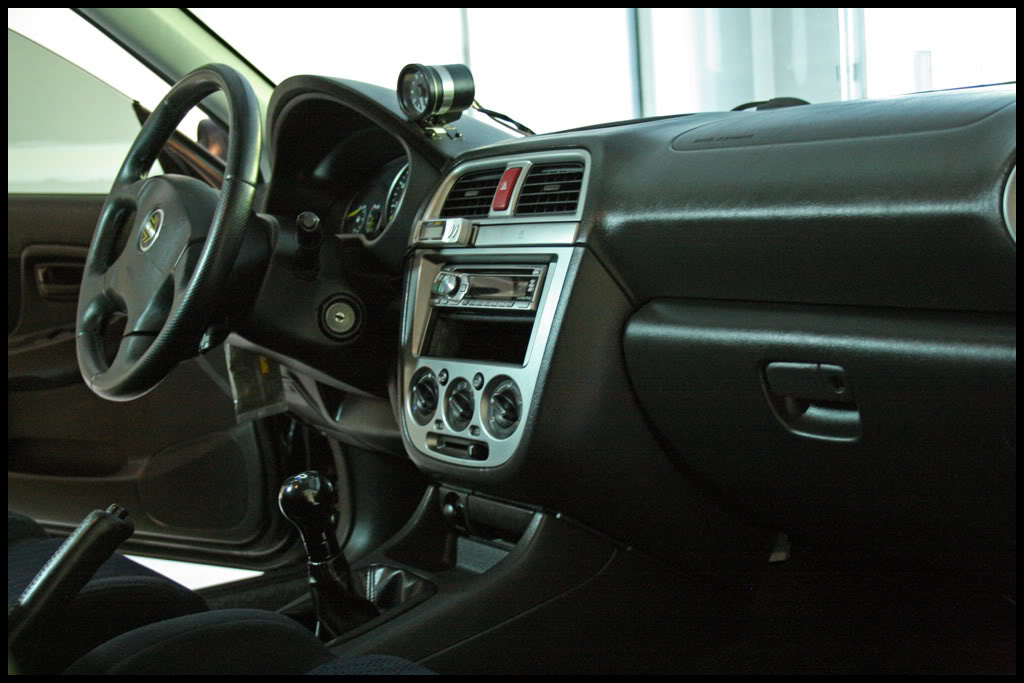
The basics of cleaning your vehicle's cockpit
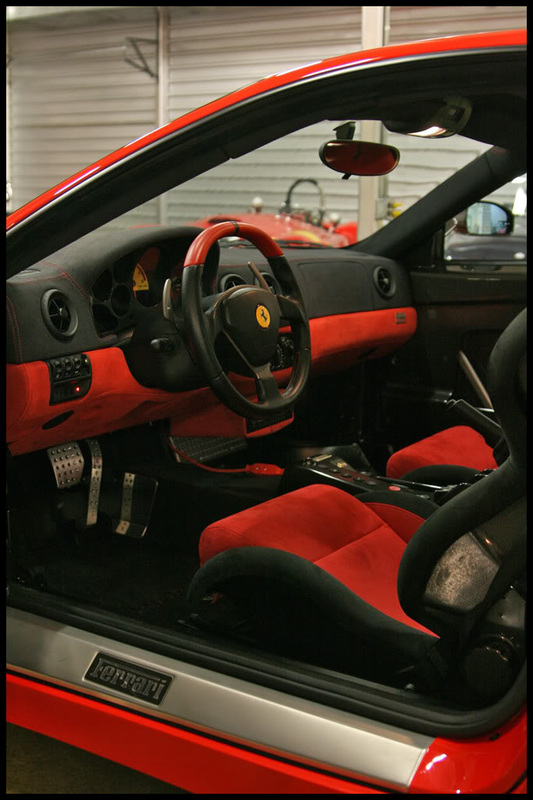
Interior cleaning has frequently been referred to as “shampooing and Armor Alling”. Before we get into the process, let’s take a look at what you are working with here.
A general rule of thumb when detailing and cleaning in general is to work from top to bottom. Use gravity to your advantage. If you vacuum your floor first, then move to the seats, chances are you will disrupt and add more soil back on the floor. With the interior, you will want to start with the headliner, move to the doors, dash, seats, and so on.
Phase 1: Clean out garbage, personal, and other loose items
The first and essential stage of cleaning out the interior is bringing it to a clean slate, free from any debris. Begin with the doors and move through the cup holders, compartments, under the seats, mats and so on. Simply discard of litter, organize your personal items, and line mats up adjacent to your vehicle in the same formation as they appear inside. This simple process will allow a quick clean-up and eliminate the guessing game of which mat goes where.
|
Phase 2: Vacuum and dusting
Having tried brushes from plastic, nylon, horsehair, boar’s hair, and many in between, I have found the gentle, and consistent approach to work the best. Using a horsehair brush found at most auto parts stores, be sure to brush out all cracks, crevices, vents, and other dust harvesting areas. When doing so, be sure to be using your vacuum to extract the remains. Many detail shops and misinformed consumers like the quick and abrasive methods of blowing out these areas with compressed air. Sure, you get the cracks cleaned quickly, but in the end, the dust has no where to go but back in your car. This only adds to the additional working time of cleaning your vehicle. When vacuuming, be sure to choose a powerful model with a car nozzle as well as a crevice tool. It is probably a good idea to invest in a shop vac-type piece since most are very powerful, can take a beating, and if the need arises, are wet/dry ready. A quality machine can be found for under $100 from many retailers like Amazon or Home Depot. As aforementioned, use gravity to your advantage. Also, keep your spare nozzle and brush handy by simply placing them on the seats. I usually like to start with the headliner and car nozzle and gently suction out the imbedded dust and dirt. Move down to the dash area in conjunction with your horsehair brush and be sure to attack the focal area from every angle possible. Next, move to the seats and use the crevice tool to get deep into the stitching and through the grooves. Be sure to spend adequate time in the space between the seat and the front console as this area is known for hoarding french fries, crumbs, and wrappers. Lastly, finish up with the carpets. I like to start in the bow near the pedals and work backwards ending up in the aft, underneath the seats and along the door jams. The rest of the car should follow this baseline. Just always keep note of using gravity to your advantage, working with your car nozzle, crevice tool, and horsehair brush at all times, and making a weekly ritual of this. Even if there is only a little bit of soil, be sure to keep it removed. A buildup of dust can result in it bonding to the surface leaving a harder, longer cleaning process in the end. A reoccurring theme you will see me reference is “Frequent care is easy and effective”. |
|